Exterior shutters do more than decorate windows. They protect glass from wind, rain, and sunlight while also adding a welcoming look to your home. Many homeowners want to learn how to install exterior window shutters because it helps increase both function and style. Shutters can provide shade, improve privacy, and create charm that lasts for years. When installed correctly, they stay secure during storms and reduce outside wear. Learning the proper steps makes installation easier, safer, and more effective for every home project.
Understanding Different Types of Exterior Shutters

Before starting installation, it’s important to know the different types of shutters available. Wooden shutters bring a natural, classic appeal but require more care to protect against moisture and insects. Vinyl shutters are lighter, easy to clean, and resistant to rot, making them a popular choice. Decorative shutters are mainly for looks, while functional shutters can open and close to shield windows. Choosing the right type ensures a proper fit and long-term performance. Each option requires different tools and fastening methods, so preparation is key before moving to installation.
Tools and Materials Needed for Exterior Shutter Installation
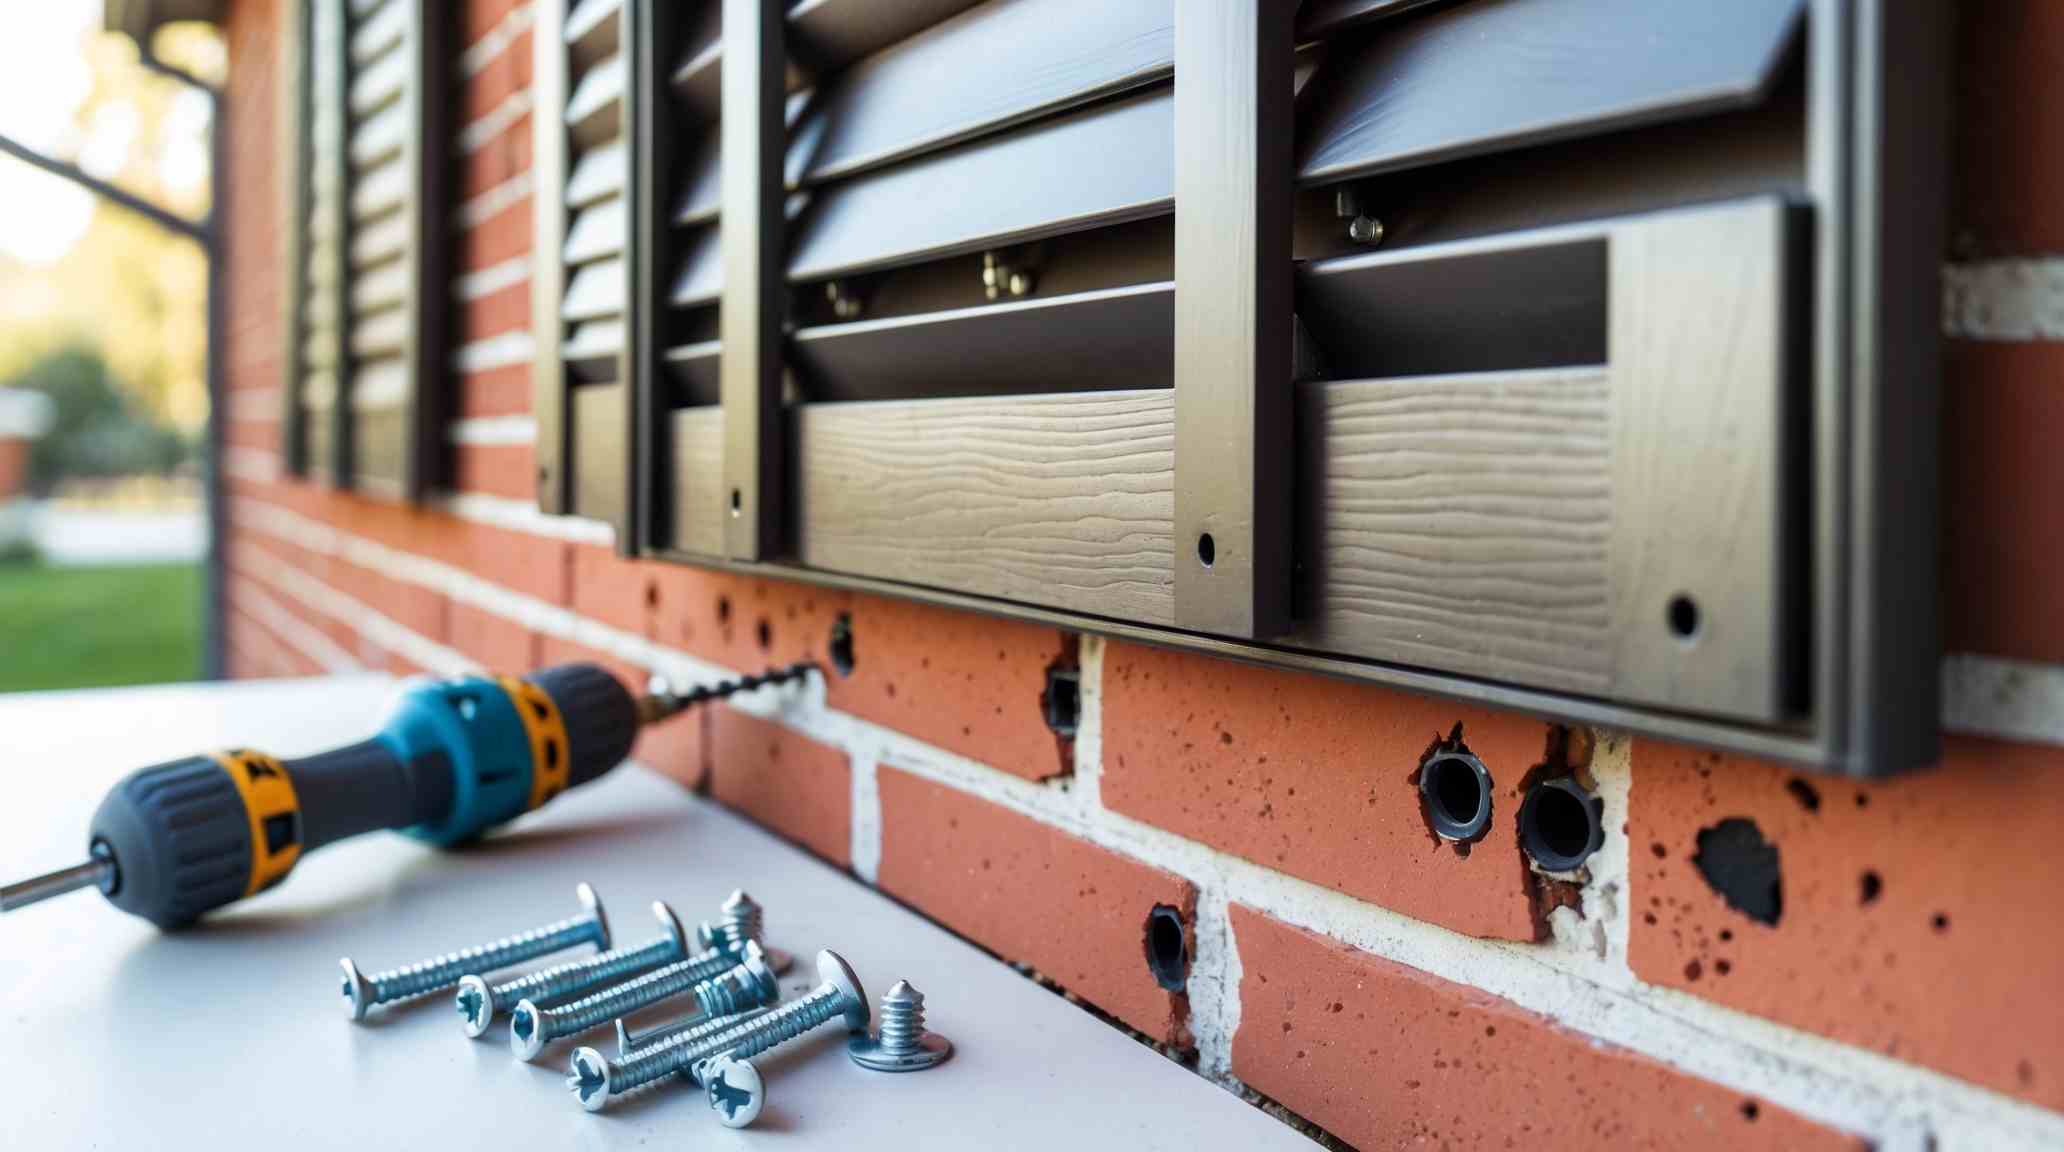
- Power drill with correct bits – A must-have for drilling pilot holes into wood, vinyl siding, or masonry. Use masonry bits for brick or stone and standard bits for wood or siding.
- Screws and shutter fasteners – Choose screws designed for exterior use to resist rust. For brick, masonry screws work best, while plastic or metal shutter fasteners are ideal for vinyl siding.
- Exterior shutter mounting hardware – Options include shutter spikes, anchors, hidden fasteners, or traditional screws depending on whether the shutters are decorative or functional.
- Measuring tape – Accurate measurements prevent misalignment. Double-check both width and height before marking your drilling points.
- Level – Ensures shutters sit perfectly straight on the wall. Even a slight tilt can look unprofessional and affect curb appeal.
- Anchors or wall plugs – Provide added strength when attaching shutters to brick, stone, or concrete. These prevent screws from loosening over time.
- Safety goggles and gloves – Protect your eyes from dust, chips, and debris, and keep your hands safe from sharp tools and hardware edges.
- Pencil or marker – Helpful for marking drill points, ensuring consistent placement before installation begins.
- Ladder – Essential for second-story windows or tall homes. A sturdy, stable ladder ensures you can reach safely without risking injury.
- Paint or sealant (optional) – If installing wooden shutters, sealing edges or touching up paint before installation adds long-term protection against weather damage.
Step-by-Step Guide: How to Install Exterior Window Shutters
Measure the window carefully
- Start by measuring the full height and width of the window frame.
- Shutters should generally match the height of the window for a balanced look.
- Always double-check measurements to avoid buying shutters that don’t fit correctly.
Position and align the shutters
- Hold the shutter against the wall where it will be installed.
- Check spacing on both sides of the window to make sure it looks even.
- Have someone assist you with holding larger shutters to keep them steady.
Mark your drilling points
- Use a pencil to mark where the screws or fasteners will go.
- Typically, two fasteners at the top and two at the bottom are enough for standard shutters.
- Ensure marks are level on each side so the shutter won’t tilt.
Pre-drill the holes
- For wood or siding, use a drill bit slightly smaller than the screw diameter.
- For brick, switch to a masonry drill bit and drill into mortar joints instead of the brick itself to reduce cracking.
- Pre-drilling prevents material damage and makes fastening easier.
Insert anchors or wall plugs if needed
- On brick, stone, or concrete surfaces, anchors are necessary for a secure hold.
- Slide the anchors into the drilled holes before attaching screws.
- This prevents loosening over time and keeps shutters stable in harsh weather.
Attach the shutters securely
- Place the shutter back in position, aligning it with your drilled holes.
- Drive the screws or shutter fasteners through the shutter and into the wall or siding.
- Tighten just enough to hold firmly but avoid over-tightening, which can crack vinyl or wood.
Check alignment and adjust if needed
- Use a level to confirm that the shutters sit perfectly straight.
- If adjustments are needed, loosen screws slightly and realign before tightening again.
- This step ensures a professional finish and improves curb appeal.
Repeat the process for each window
- Follow the same steps for every window where shutters are being installed.
- Step back after completing a set to confirm that all shutters line up evenly.
- Consistent placement across windows makes the home look neat and polished.
Final inspection and clean-up
- Once all shutters are installed, inspect each one for stability.
- Wipe down shutters to remove dust or marks left from installation.
- Store extra fasteners and tools for future maintenance or replacements.
How to Install Shutters on Brick or Masonry Surfaces

Brick walls need special care during installation. Start by marking where the shutters will sit, then use a masonry drill bit to create pilot holes. Insert wall plugs or anchors to give screws a strong grip. Place the shutter and drive screws through pre-drilled holes. Always use exterior shutter screws designed for brick to prevent cracking. For vinyl shutters on brick, specialized fasteners may be required. By taking time with measuring and drilling, you ensure the shutters stay strong against weather and daily wear. This process works well for brick houses and stone siding.
How to Install Shutters on Siding Without Damage
Vinyl siding requires gentle handling to prevent cracking. Begin by measuring the window and aligning the shutter evenly on both sides. Use a drill to make small pilot holes through the siding where screws will go. Insert shutter fasteners or anchors that can expand without breaking the material. Avoid overtightening screws, as it may warp the siding. For attaching shutters to vinyl siding, lightweight vinyl shutters are often the best choice since they place less stress on the surface. Following these steps keeps siding damage-free and shutters firmly in place.
How to Hang Exterior Shutters on Different Window Styles
Not all windows are the same, and shutters must be adjusted to fit. Standard rectangular windows are simple, but arched or custom frames may need trimming or angled cuts. When learning how to hang exterior shutters, always measure both the top and bottom to confirm a precise fit. For decorative shutters, placement is important since they should appear functional even if they don’t close. On working shutters, proper hinges and mounting hardware are essential. Hanging shutters correctly ensures both beauty and function, no matter what style of windows you have.
How to Install Vinyl and Wooden Shutters Correctly
Vinyl and wood shutters require different approaches. Vinyl shutters are lightweight and often come with built-in fasteners. They are easy to attach with screws or anchors and don’t require much upkeep. Wooden shutters, on the other hand, are heavier and need stronger hardware. They must be sealed or painted to withstand moisture and sun. To hang wood shutters on brick, use long masonry screws with anchors. For siding, always pre-drill holes to prevent splitting. Installing each type properly ensures long-lasting results that match your home’s design and strength needs.
Exterior Shutter Mounting Options and Fasteners Explained
The right fasteners are critical for durability. Shutter spikes are common for vinyl shutters, while screws for shutters into brick are best for masonry walls. Plastic anchors work well on siding, while heavy-duty wall plugs help with stone or concrete. Some homeowners use hidden fasteners for a cleaner look, while others prefer visible hardware for a traditional style. Exterior shutter mounting options vary depending on materials, so always match fasteners to the wall type. By selecting the correct system, you can reduce the risk of loosening and improve long-term performance.
Replacing Exterior Shutters: When and How to Upgrade

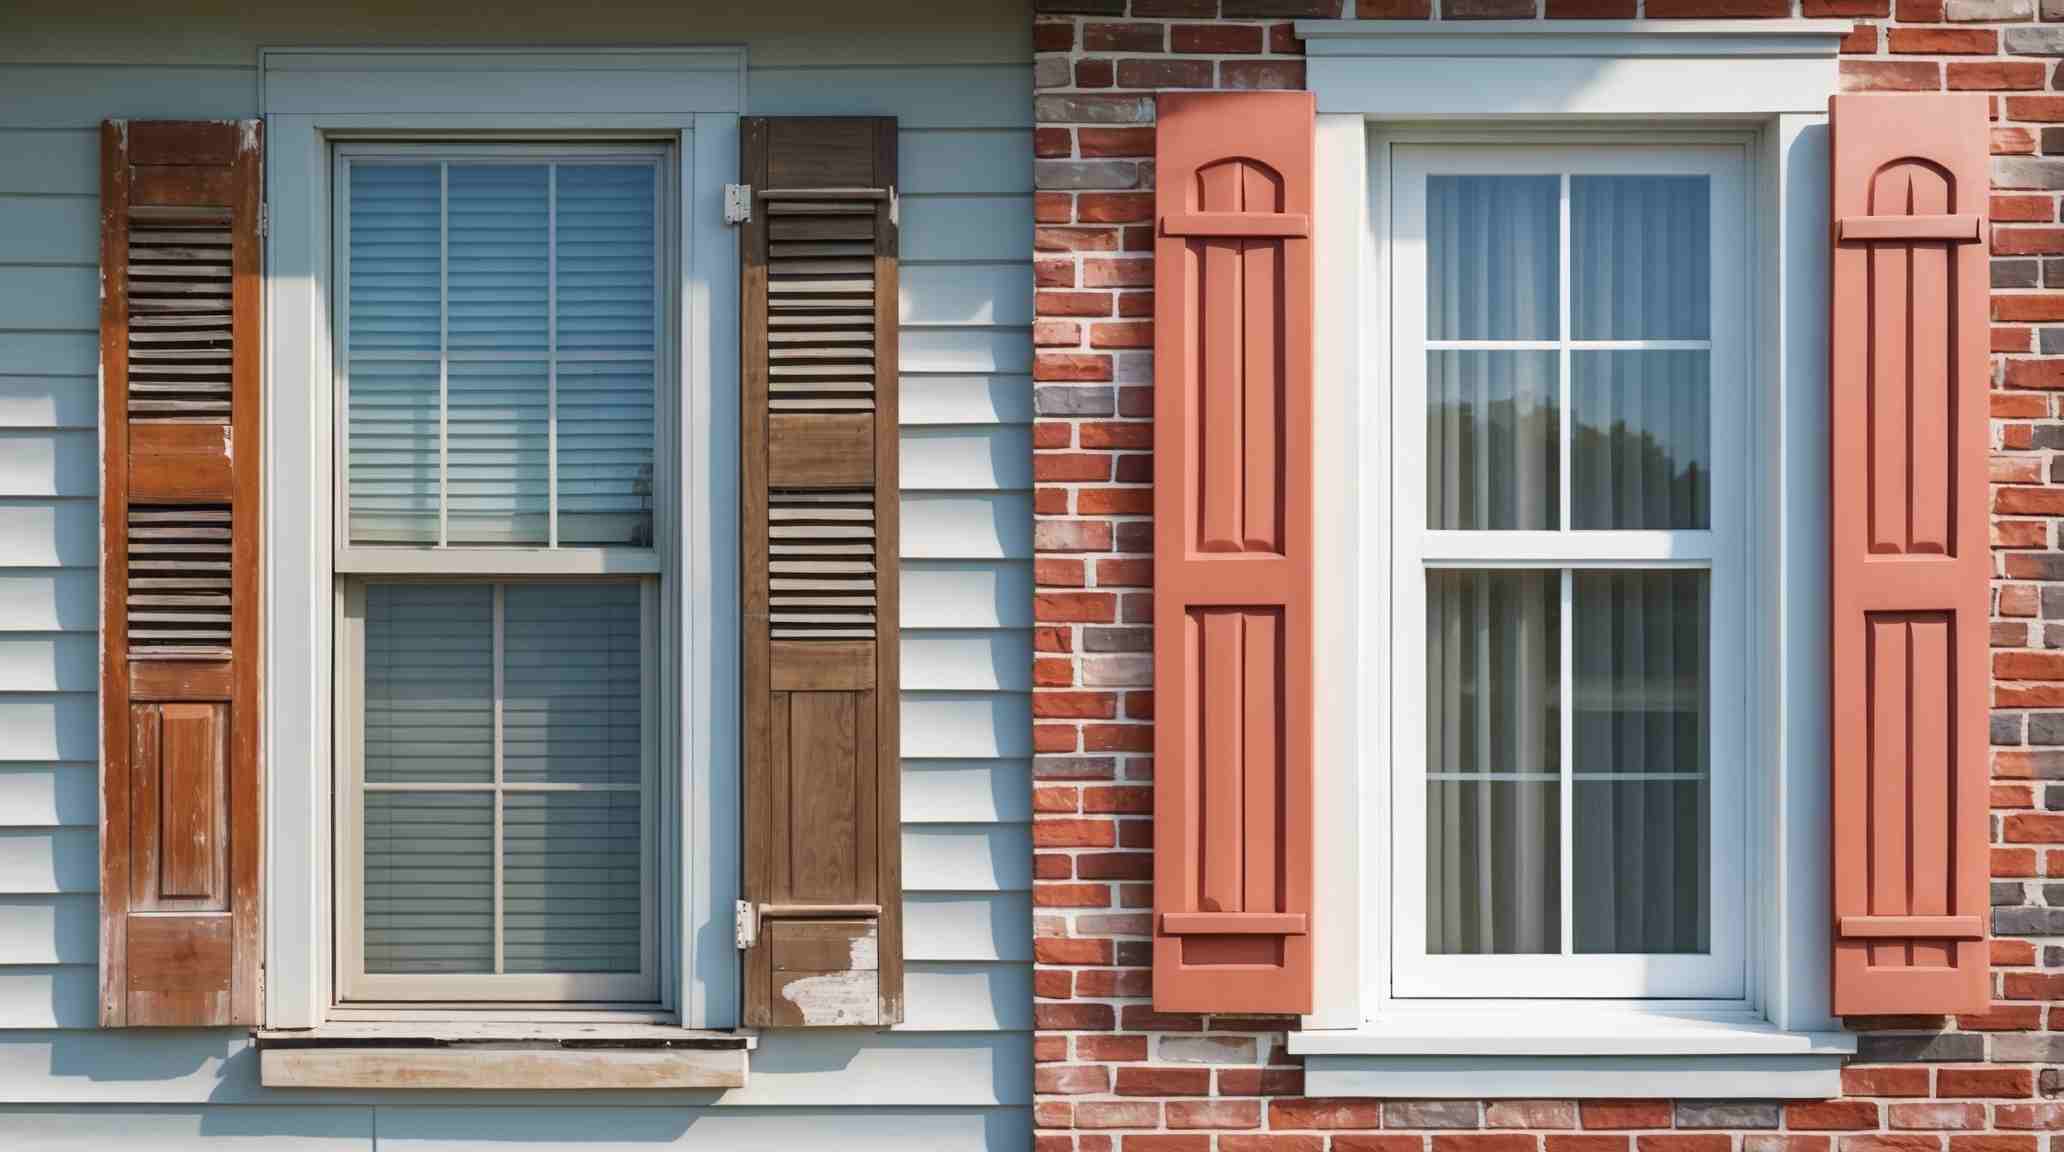
Even the best shutters may need replacement after years of exposure. Signs that you should replace window shutters include cracks, fading, warping, or loose hardware. Replacing exterior shutters follows the same steps as installation. Remove old fasteners carefully, clean the surface, and install new shutters with secure hardware. For homes with brick or siding, always choose proper mounting methods to avoid damage. Upgrading shutters improves safety, restores curb appeal, and increases home value. Whether vinyl, wood, or composite, new shutters give your home a refreshed and polished look.
Professional Help with Window Shutter Installation in Winter Park, FL
While many homeowners can handle shutter projects on their own, some situations call for expert help. Large windows, second-story installs, or specialty materials may require professional tools and skills. In such cases, reaching out to Bumble Bee Blinds ensures that shutters are installed correctly, safely, and securely. Our team brings years of experience and uses the best hardware for every surface type. From siding to brick homes, we provide professional solutions that save time and reduce risk. Trusted local service makes every installation smooth from start to finish.
Conclusion
Installing exterior shutters is a practical way to enhance both the look and strength of your home. From learning how to hang shutters on brick to installing vinyl shutters on siding, each step requires care, precision, and the right tools. Whether replacing exterior shutters or adding them for the first time, proper installation ensures long-lasting results. For homeowners who prefer expert service, Bumble Bee Blinds offers reliable solutions that bring style and protection together.
Ready to improve your home’s windows with shutters that last? Call today to schedule a consultation and get expert guidance tailored to your needs.


